How to setup print from other App to Quick Print on macOS
You are learning how to use automator to create a print-plugin on Mac Computer. this can let’s you use Quick Print app from most application’s print dialog on macOS.
Here is a step-by-step Guide to setup an automator based integration into Print Dialog:
- From “Launchpad”, open “Automator” on your Mac.


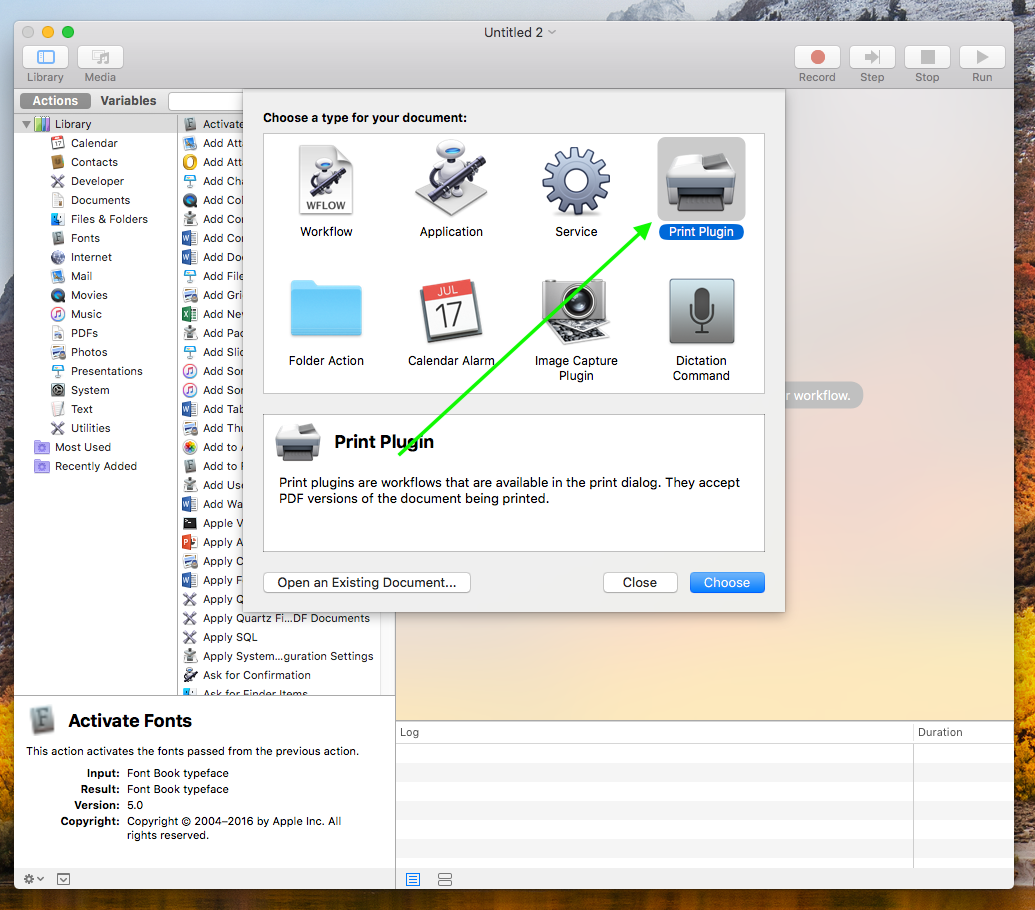
2. Create “New”, Select “Print Plugin”
3. Search “‘Open Finder Items”, Select “‘Open Finder Items” and double click on the ‘Open Finder Items’ in the list of ‘Actions’, it will add that action to the plugin being created.
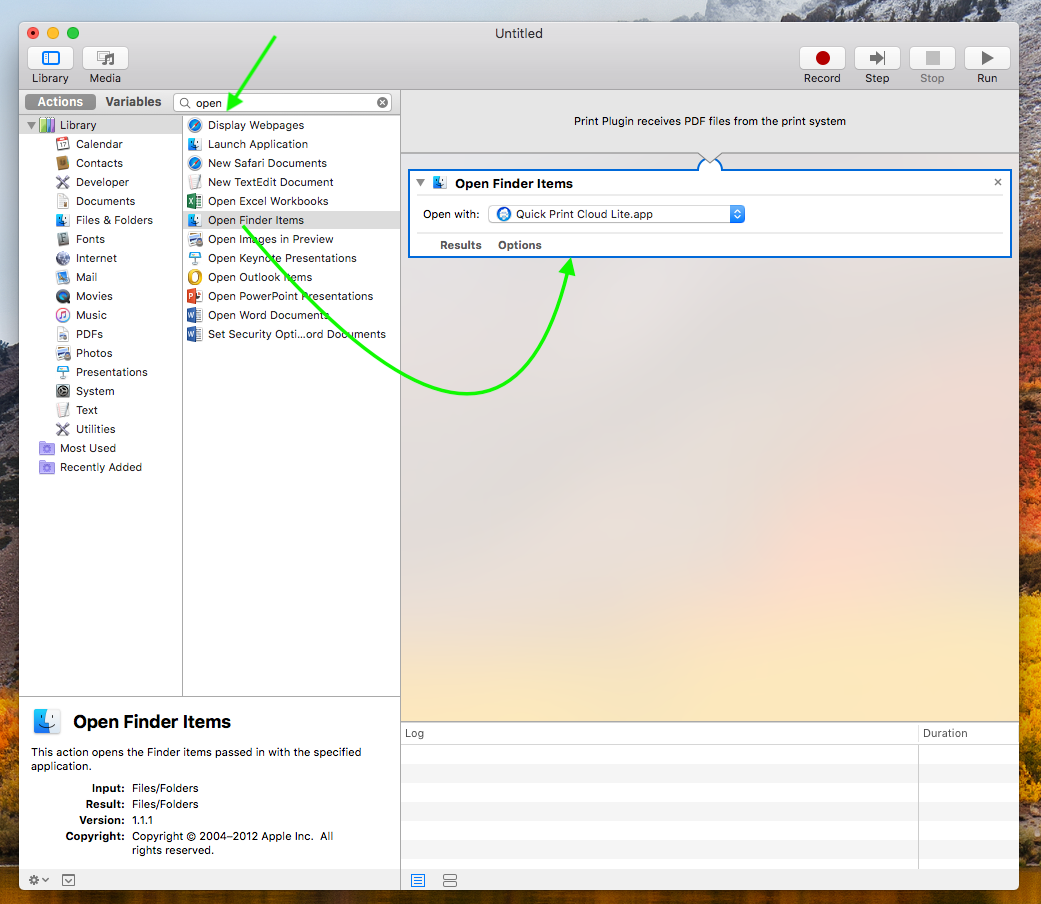
4. In the ‘Open Finder Items’ action, select ‘Quick Print’ app that you have installed in your Mac in the ‘Open With’ option. Save your plugin with a name of your choice typically indicating ‘Print using Quick Print’.

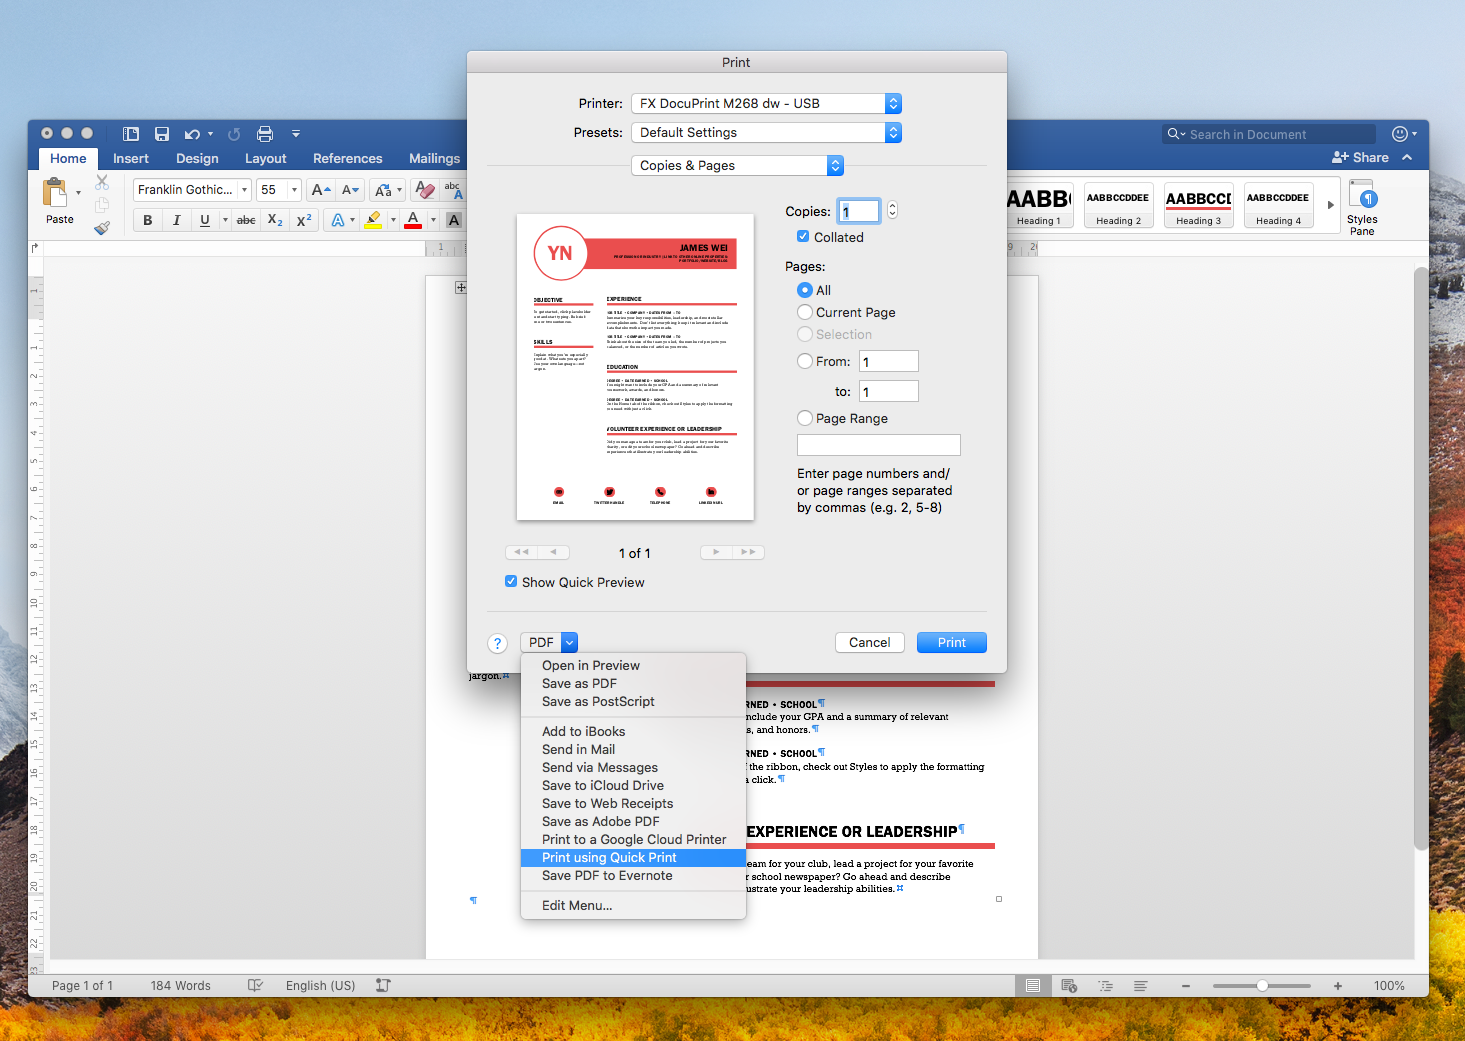
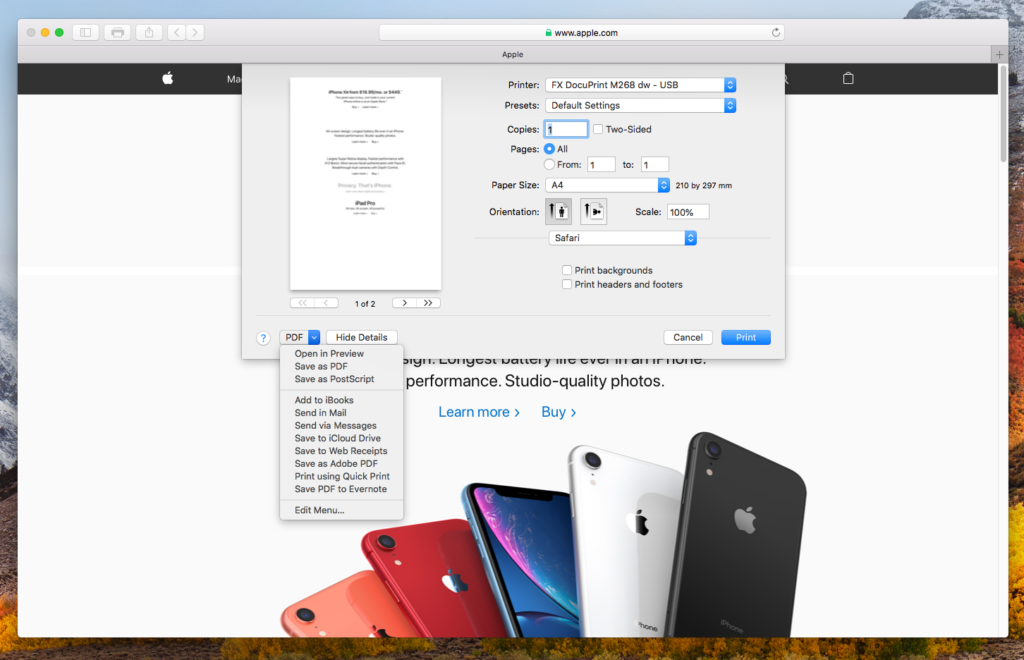
5. At last, you can print from most Mac applications using the Cmd+P button and it will bring up the Mac Print Dialog. See the following examples:
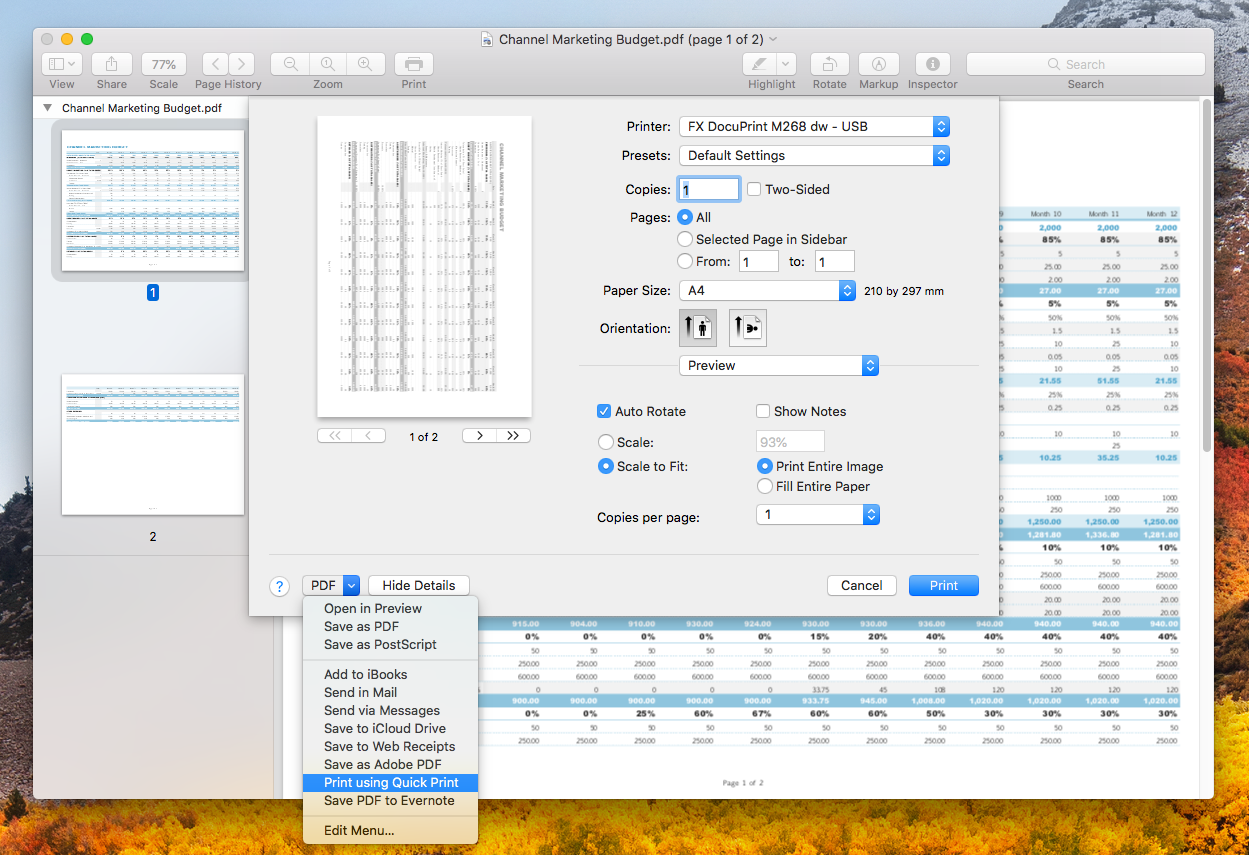
Print PDF file from Preview app.
Print Word file from Microsoft Word app.
Print web page from Safari.
6. Please click that option and select the plug-in that you have just created. This will send the print job to the ‘Quick Print’ program. then you could click “Print” button to send job to remote printer.
BTW, could also downlaod our workflow file, unzip and copy workflow file to your user folder “~/Library/PDF Services”.
Please have a try!